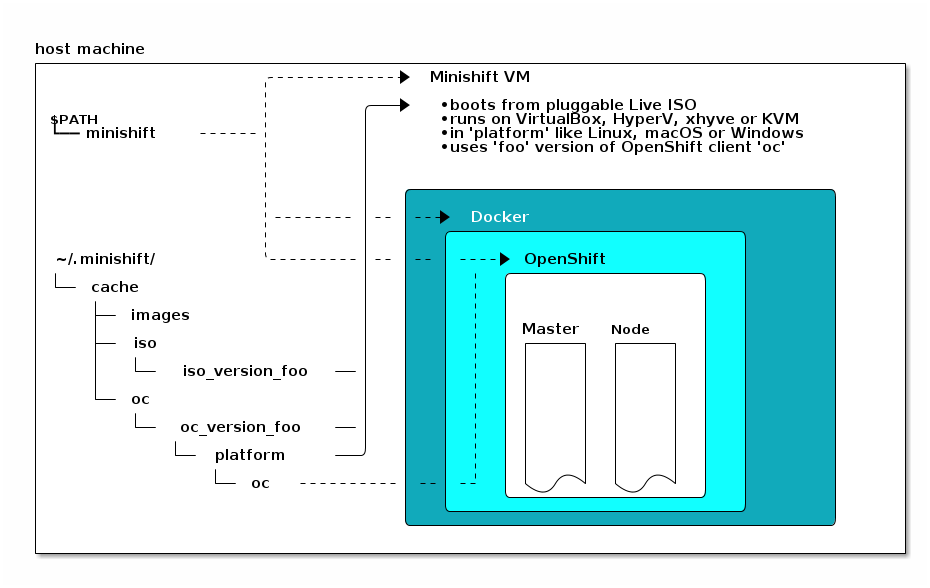
Minishift is a tool that helps you run OpenShift locally by launching a single-node OpenShift Origin cluster inside a virtual machine.
Minishift requires a hypervisor to start the virtual machine on which the OpenShift cluster is provisioned. We will start with the installation of hypervisor of your choice before Minishift setup.
Install a hypervisor
If you prefer to run your cluster in a hypervisor, install Virtualbox or enable KVM. You can also use xhyve as described here.
The hypervisor for MacOS it is xhyve.
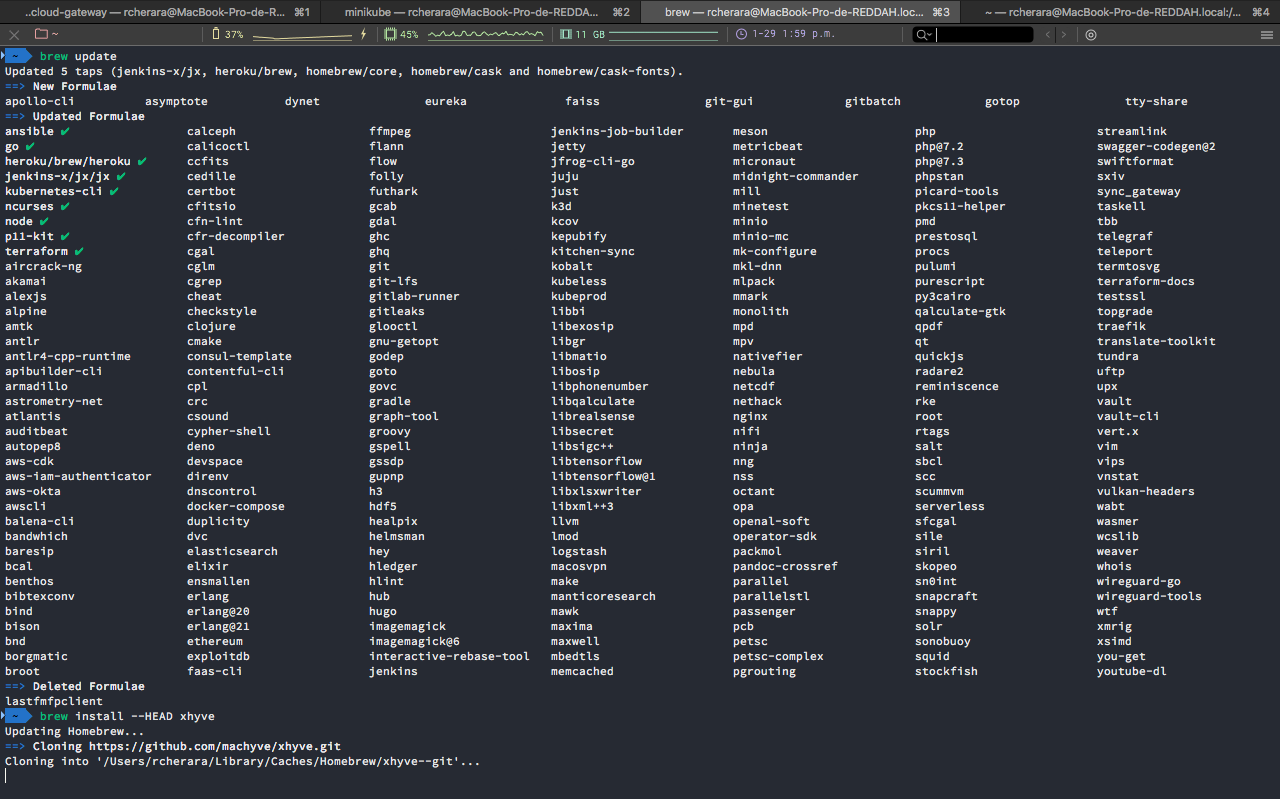
$ brew update
$ brew install --HEAD xhyve
For Linux users, the common hypervisor choices are KVM and VirtualBox.
For Windows the hypervisor choice is Hyper-V
For macOS The Hyperkit driver will eventually replace the existing xhyve driver and uses moby/hyperkit as a Go library
Proceed to Installing Minishift once your hypervisor has been installed and configured
Installation Minishift on macOS :
There are two options :
- Option 1-a : Download the latest Minishift binary from the Minishift Github releases page https://github.com/minishift/minishift/releases
Extract the tgz file and copy the minishift file to /usr/local/bin folder.
$ tar -xvf ~/Downloads/minishift-1.34.2-darwin-amd64.tgz
$ sudo cp ~/Downloads/minishift-1.34.2-darwin-amd64/minishift /usr/local/bin
$ sudo chmod +x /usr/local/bin/minishift- Option 1-b :
$ curl -O https://github.com/minishift/minishift/releases/download/v1.34.2/minishift-1.34.2-darwin-amd64.tgz
$ tar -xvzf minishift-1.34.2-darwin-amd64.tgz
$ mv minishift-1.34.2-darwin-amd64/minishift /usr/local/bin/minishift
$ export PATH=$PATH:/usr/local/bin/minishift- Options 2 : You may also install Minishift via Homebrew.
$ brew cask install minishiftSo let’s start to install Minikube with xhyve.
$ brew update
$ brew install xhyve
$ brew install docker-machine-driver-xhyve

# apply docker-machine-driver-xhyve caveats
$ sudo chown root:wheel $(brew --prefix)/opt/docker-machine-driver-xhyve/bin/docker-machine-driver-xhyve
$ sudo chmod u+s $(brew --prefix)/opt/docker-machine-driver-xhyve/bin/docker-machine-driver-xhyve
$ minikube start --vm-driver=xhyve
Persistent Configuration
Using persistent configuration allows you to control Minishift behavior without specifying actual command line flags, similar to the way you use environment variables. You can also define global configuration using --global flag.
Minishift maintains a configuration file in $MINISHIFT_HOME/config/config.json. This file can be used to set commonly-used command line flags persistently for individual profiles. The global configuration file is maintained at $MINISHIFT_HOME/config/global.json.
$ minishift config view
$ minishift config view --global
$ minishift config
# Set default memory 4096 MB
$ minishift config set memory 4096
# For example, you can set the default memory to 8192 MB for every profile as follows:
$ minishift config set --global memory 8192


# Setup the virtualization platform
# Use VirtualBox Permanently
$ minishift config set vm-driver virtualbox

$ minishift config set insecure-registry hub.foo.com,hub.bar.com
$ minishift start --insecure-registry hub.foo.com --insecure-registry hub.bar.com
# By Default minishift persist start flags to persistent configuration, to disable it, use
$ minishift config set save-start-flags false.
~/Projects minishift config
Modifies Minishift configuration properties. Some of the configuration properties are equivalent to the options that you set when you run the 'minishift start' command.
Configurable properties (enter as SUBCOMMAND):
* iso-url
* cpus
* memory
* disk-size
* vm-driver
* openshift-version
* host-only-cidr
* docker-env
* docker-opt
* insecure-registry
* registry-mirror
* addon-env
* remote-ipaddress
* remote-ssh-user
* remote-ssh-key
* timezone
* skip-registry-check
* public-hostname
* routing-suffix
* server-loglevel
* write-config
* extra-clusterup-flags
* no-proxy
* http-proxy
* https-proxy
* local-proxy
* local-proxy-reencrypt
* local-proxy-upstream
* username
* password
* skip-registration
* log_dir
* show-libmachine-logs
* hostfolders-mountpath
* hostfolders-automount
* hostfolders-sftp-port
* services-proxy-port
* no-provision
* image-caching
* skip-check-deprecation
* warn-check-deprecation
* skip-check-kvm-driver
* warn-check-kvm-driver
* skip-check-xhyve-driver
* warn-check-xhyve-driver
* skip-check-hyperv-driver
* warn-check-hyperv-driver
* skip-check-iso-url
* warn-check-iso-url
* skip-check-vm-driver
* warn-check-vm-driver
* skip-check-vbox-installed
* warn-check-vbox-installed
* skip-check-openshift-version
* warn-check-openshift-version
* skip-check-openshift-release
* skip-check-powershell
* warn-check-powershell
* warn-check-openshift-release
* skip-startup-checks
* skip-check-clusterup-flags
* warn-check-clusterup-flags
* skip-check-instance-ip
* warn-check-instance-ip
* skip-check-network-host
* warn-check-network-host
* skip-check-network-ping
* warn-check-network-ping
* skip-check-network-http
* warn-check-network-http
* skip-check-storage-mount
* warn-check-storage-mount
* skip-check-storage-usage
* warn-check-storage-usage
* skip-check-nameservers
* warn-check-nameservers
* check-network-http-host
* check-network-ping-host
* network-device
* network-ipaddress
* network-netmask
* network-gateway
* network-nameserver
* network-dnsmasq-containerized
* network-dnsmasq-container
* hyperv-virtual-switch
* save-start-flags
* auto-start-tray
* static-ip
Usage:
minishift config SUBCOMMAND [flags]
minishift config [command]
Available Commands:
get Gets the value of a configuration property from the Minishift configuration file.
set Sets the value of a configuration property in the Minishift configuration file.
unset Clears the value of a configuration property in the Minishift configuration file.
view Display the properties and values of the Minishift configuration file.
Flags:
-h, --help help for config
Global Flags:
--alsologtostderr log to standard error as well as files
--log_backtrace_at traceLocation when logging hits line file:N, emit a stack trace (default :0)
--log_dir string If non-empty, write log files in this directory
--logtostderr log to standard error instead of files
--profile string Profile name (default "minishift")
--show-libmachine-logs Show logs from libmachine.
--stderrthreshold severity logs at or above this threshold go to stderr (default 2)
-v, --v Level log level for V logs. Level varies from 1 to 5 (default 1).
--vmodule moduleSpec comma-separated list of pattern=N settings for file-filtered logging
Now you can get started running Minishift to learn and to develop for it. The typical routine you'll find yourself repeating is the launch process: start Minishift, enable the oc command, and get to work.
To start Minishift, use the start parameter:
Run Minishift
$ minishift start --network-nameserver rcherara-minishift --vm-driver virtualbox
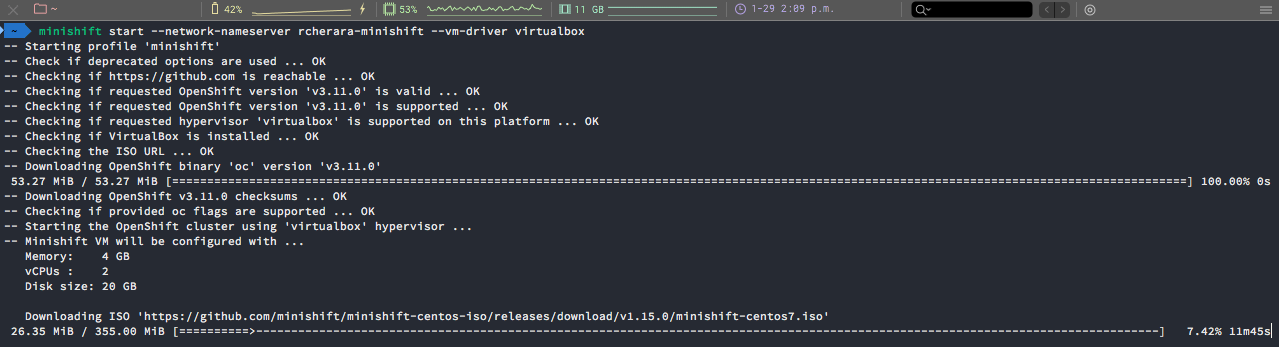
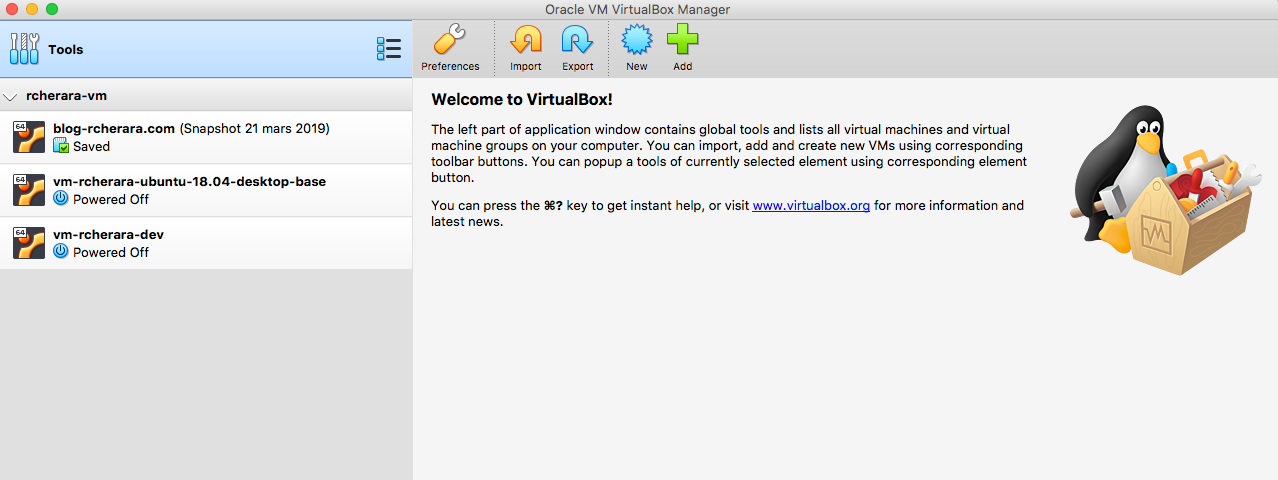
Before
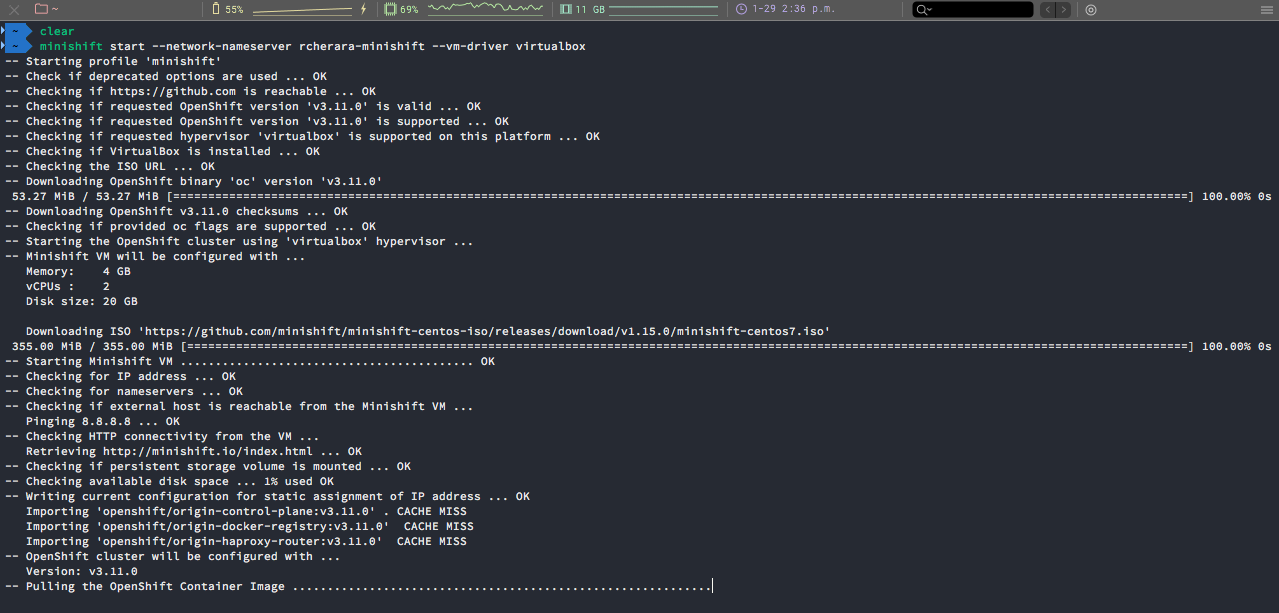
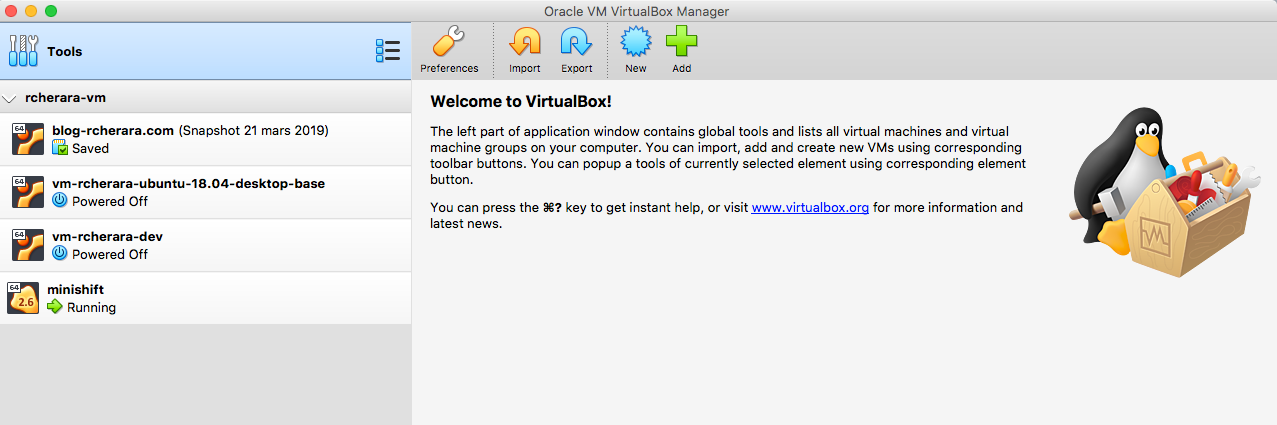
After
# Usage: minishift [command]

Available Commands:
  addons      Manages Minishift add-ons.
  completion  Outputs minishift shell completion for the given shell (bash or zsh)
  config      Modifies Minishift configuration properties.
  console     Opens or displays the OpenShift Web Console URL.
  delete      Deletes the Minishift VM.
  docker-env  Sets Docker environment variables.
  help        Help about any command
  hostfolder  Manages host folders for the Minishift VM.
  image       Exports and imports container images.
  ip          Gets the IP address of the running cluster.
  logs        Gets the logs of the running OpenShift cluster.
  oc-env      Sets the path of the 'oc' binary.
  openshift   Interacts with your local OpenShift cluster.
  profile     Manages Minishift profiles.
  services    Manage Minishift services
  setup       Configures pre-requisites for Minishift on the host machine
  ssh         Log in to or run a command on a Minishift VM with SSH.
  start       Starts a local OpenShift cluster.
  status      Gets the status of the local OpenShift cluster.
  stop        Stops the running local OpenShift cluster.
  update      Updates Minishift to the latest version.
  version     Gets the version of Minishift.
Confirm installation.
$ minishift version

- You can login to minishift using oc commands
$ minikube dashboard

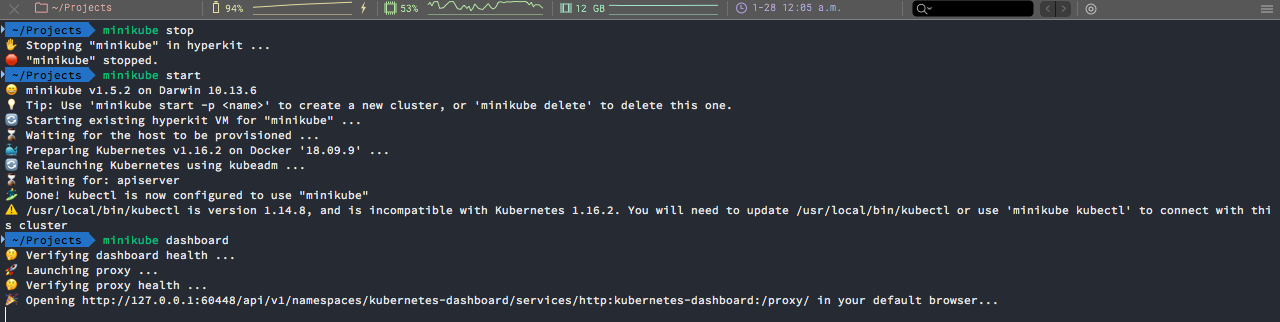
- Login to minishift console using the given url. In the above case its https://192.168.99.101:8443/console
Give either developer / developer or admin / admin as credentials
Minishift registry
- Logging into minishift1oc login -u admingive any password or the password used in the web console.
- Logging into registry
- Once you login to oc , to login to openshift registry run the following command1minishift addons apply registry-route
- This enables registry route and gives you the route url something like this docker-registry-default.192.168.99.104.nip.io
- To login to registry run the command by giving the route generated in the above step1docker login -u developer -p `oc whoami -t` docker-registry-default.192.168.99.104.nip.io
Enabling external Docker
- Add the registry route generated by the previous steps to the docker

By this way even if you shutdown minishift you wont loose the images. I personally prefer this over keeping images in openshift registry.
$ minishift version
minishift v1.27.0+707887e

$ minishift start
-- Starting profile 'minishift'
-- Check if deprecated options are used ... OK
[...]
Server Information ...
OpenShift server started.

The server is accessible via web console at:
    https://192.168.42.111:8443/console

You are logged in as:
    User:     developer
    Password: <any value>

To login as administrator:
    oc login -u system:admin


-- Exporting of OpenShift images is occuring in background process with pid 2555.

$ eval $(minishift oc-env)

$ oc login -u system:admin
Logged into "https://192.168.42.111:8443" as "system:admin" using existing credentials.

You have access to the following projects and can switch between them with 'oc project <projectname>':

    default
    kube-dns
    kube-proxy
    kube-public
    kube-system
  * myproject
    openshift
    openshift-apiserver
    openshift-controller-manager
    openshift-core-operators
    openshift-infra
    openshift-node
    openshift-service-cert-signer
    openshift-web-console

Using project "myproject".

$ oc whoami
system:admin
Installation of a Minishift addon
There are some community addons you can use to simplify the Minishift installation. One example is Prometheus.
The process to get the addons is very easy:
$ git clone https://github.com/minishift/minishift-addons.git # clone the addon repository
$ minishift addons install minishift -addons/add-ons/prometheus # point to the addon path you want to install
We need:
- A way to run containers
- Kubernetes
- The Kubernetes command-line tool,
kubectl. - The
occommand-line tool for Red Hat OpenShift - An image to run as a test.
General information
- Minishift version: 1.34.2
- OS: Linux / macOS / Windows ; Windows 10
- Hypervisor: KVM / xhyve / Hyper-V / VirtualBox / hyperkit : Virtualbox
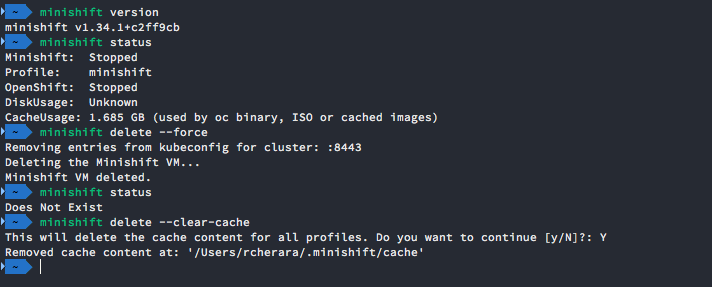
# The minishift delete command deletes the OpenShift cluster, and also shuts down and deletes the Minishift VM. No data or state are preserved.
$ minishift stop

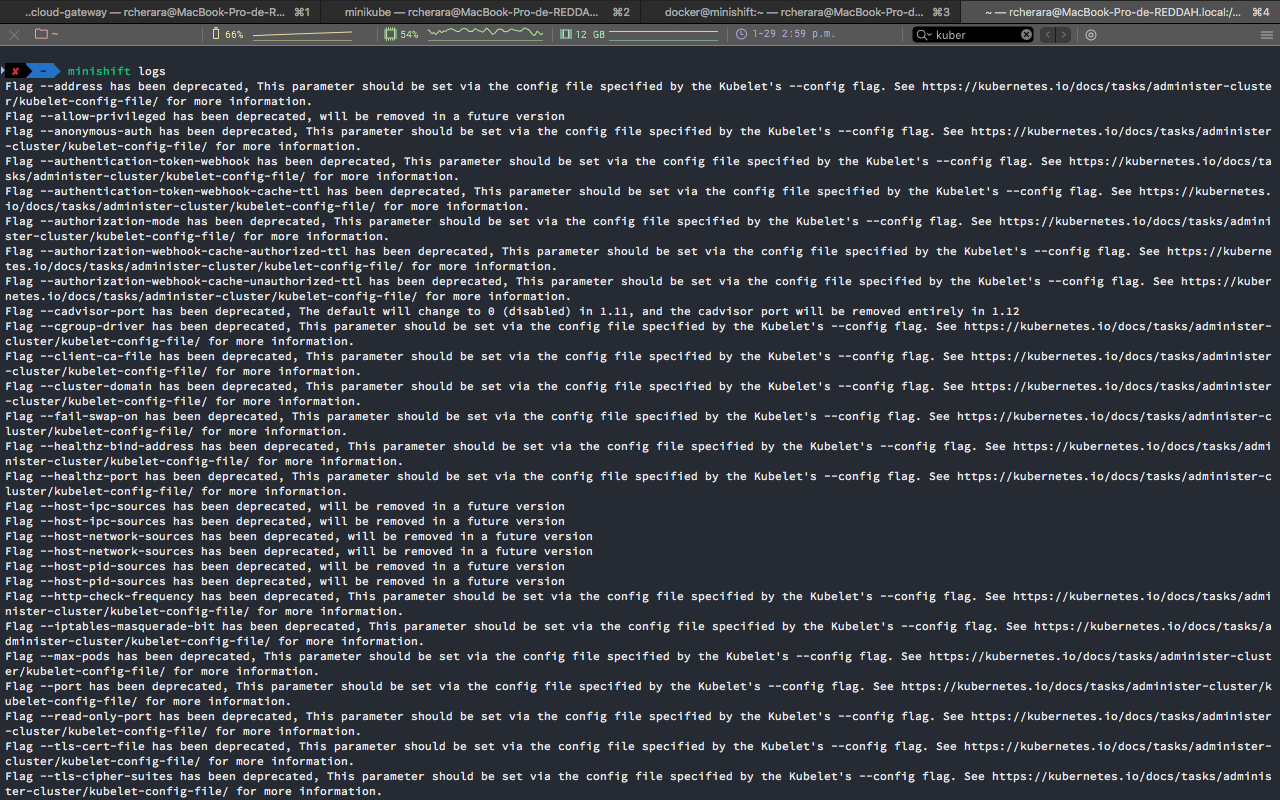
# Minishift logs can be found at,
$ minishift logs
$ minishift delete --force
$ minishift delete --clear-cache
$ minishift start --vm-driver virtualbox
$ minishift ip
# Using the profile set Command
$ minishift profile set demo
$ minishift profile list
# To switch between profiles use the minishift profile set command:
$ minishift profile set profile-demo
# To view currently cached images on the host:
$ minishift image list
$ minishift image cache-config view
$ minishift image cache-config add alpine:latest busybox:latest
$ minishift image cache-config view
    alpine:latest
    busybox:latest
$ minishift image cache-config remove alpine:latest
# Image caching is enabled by default for Minishift
$ minishift config set image-caching false
# You can re-enable the caching of the OpenShift images by setting image-caching to true or removing the setting altogether using minishift config unset:
$ minishift config unset image-caching
# To delete an image from the local cache, use the minishift image delete command:
$ minishift image delete <image-name-0> <image-name-1>

$ minishift addons list
$ minishift addons apply anyuid admin-user
$ minishift addons remove admin-user

$ minishift hostfolder list
# Adding a CIFS based hostfolder
$ minishift hostfolder add -t cifs --source //192.168.99.1/MYSHARE --target /mnt/sda1/myshare --options username=rcherara,password=mysecretpassword,domain=MYDOMAIN myshare
# Adding an SSHFS based hostfolder
$ minishift hostfolder add -t sshfs --source /Users/john/myshare --target /mnt/sda1/myshare myshare
# After you have added host folders, you use the minishift hostfolder mount command to mount a host folder by its name:
$ minishift hostfolder mount myshare
# auto mount folder
$ minishift config set hostfolders-automount true
# umount shared folder
$ minishift hostfolder umount myshare
# delette shared folder
$ minishift hostfolder remove myshare
Using the commands from their github repo :
# deploy a simple image
➜ kubectl run hello-minikube --image=k8s.gcr.io/echoserver:1.4 --port=8080
deployment.apps "hello-minikube" created

# expose the service outside the cluster
➜ kubectl expose deployment hello-minikube --type=NodePort
service "hello-minikube" exposed

➜ minikube service hello-minikube --url
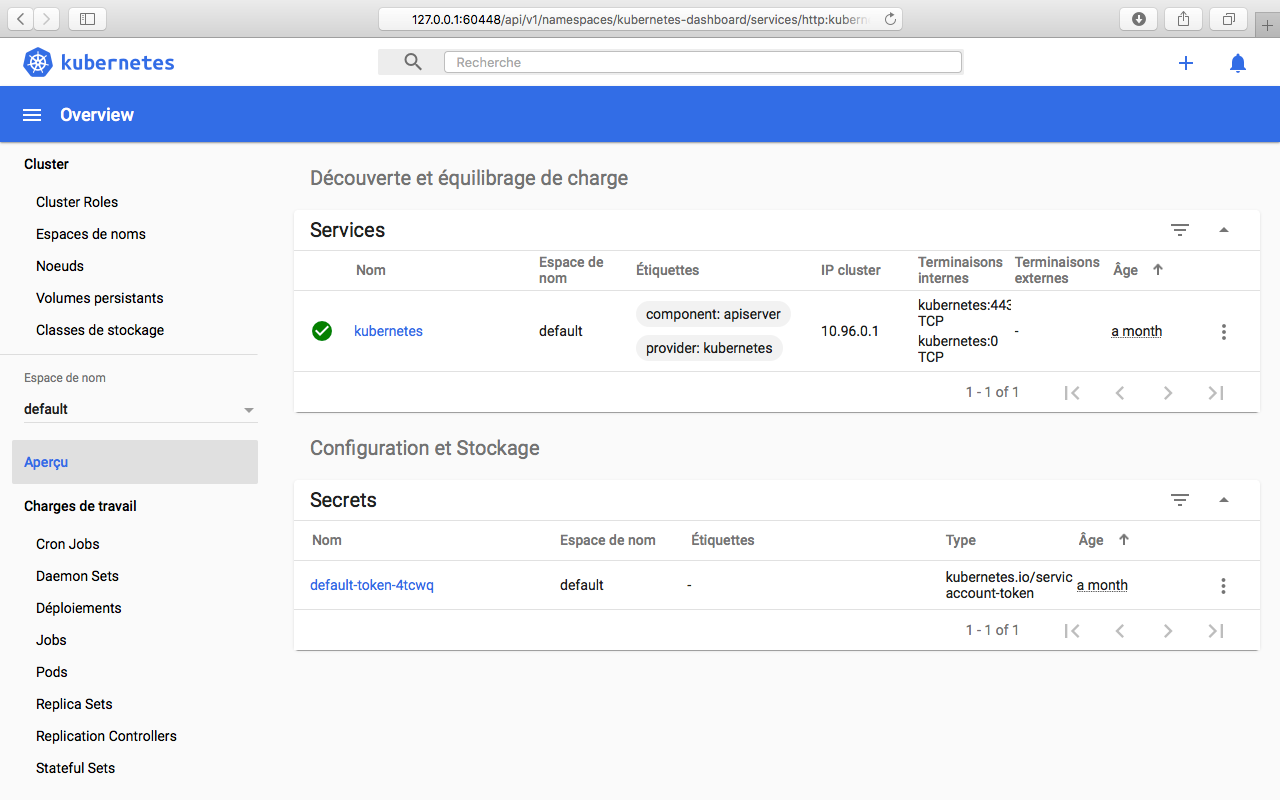
Also minikube comes with a dashboard :
➜ minikube dashboard
Opening kubernetes dashboard in default browser...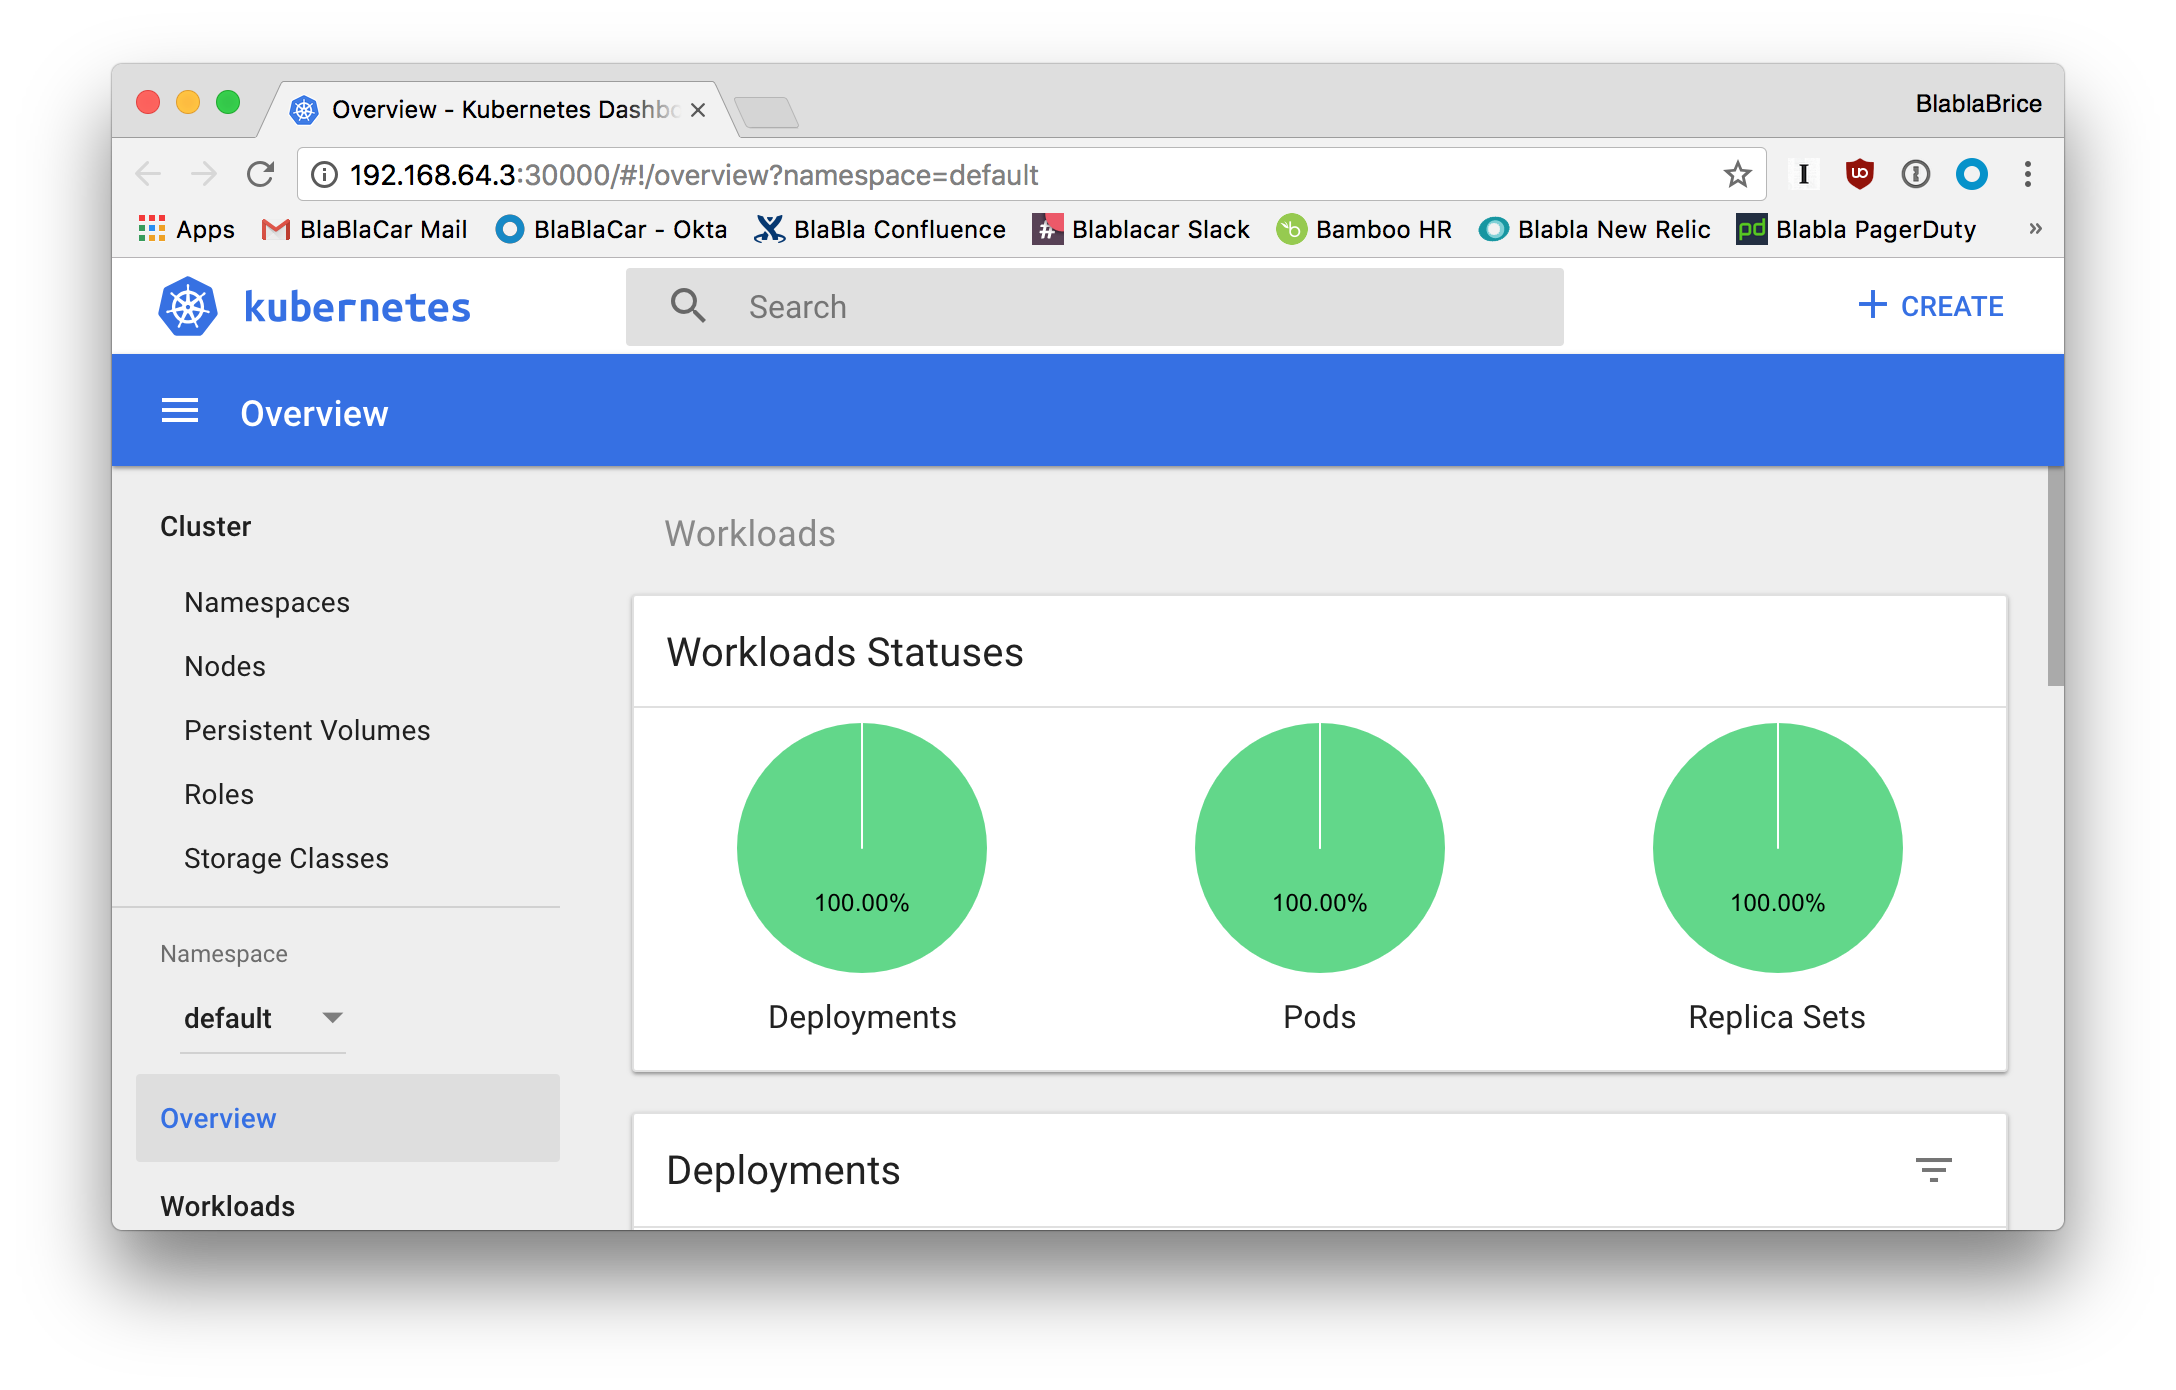
Connecting to the Minishift VM with SSH
You can use the minishift ssh command to interact with the Minishift VM
$ minishift ssh -- docker psInstalling Add-ons
Add-ons are installed with the minishift addons install command.
The following example shows how to install an add-on.Example: Installing an add-on
$ minishift addons install <path_to_addon_directory>

# To list valid components which can be add to running OpenShift cluster, use the following:
$ minishift openshift component list
https://docs.okd.io/latest/minishift/using/addons.html
Using Minishift